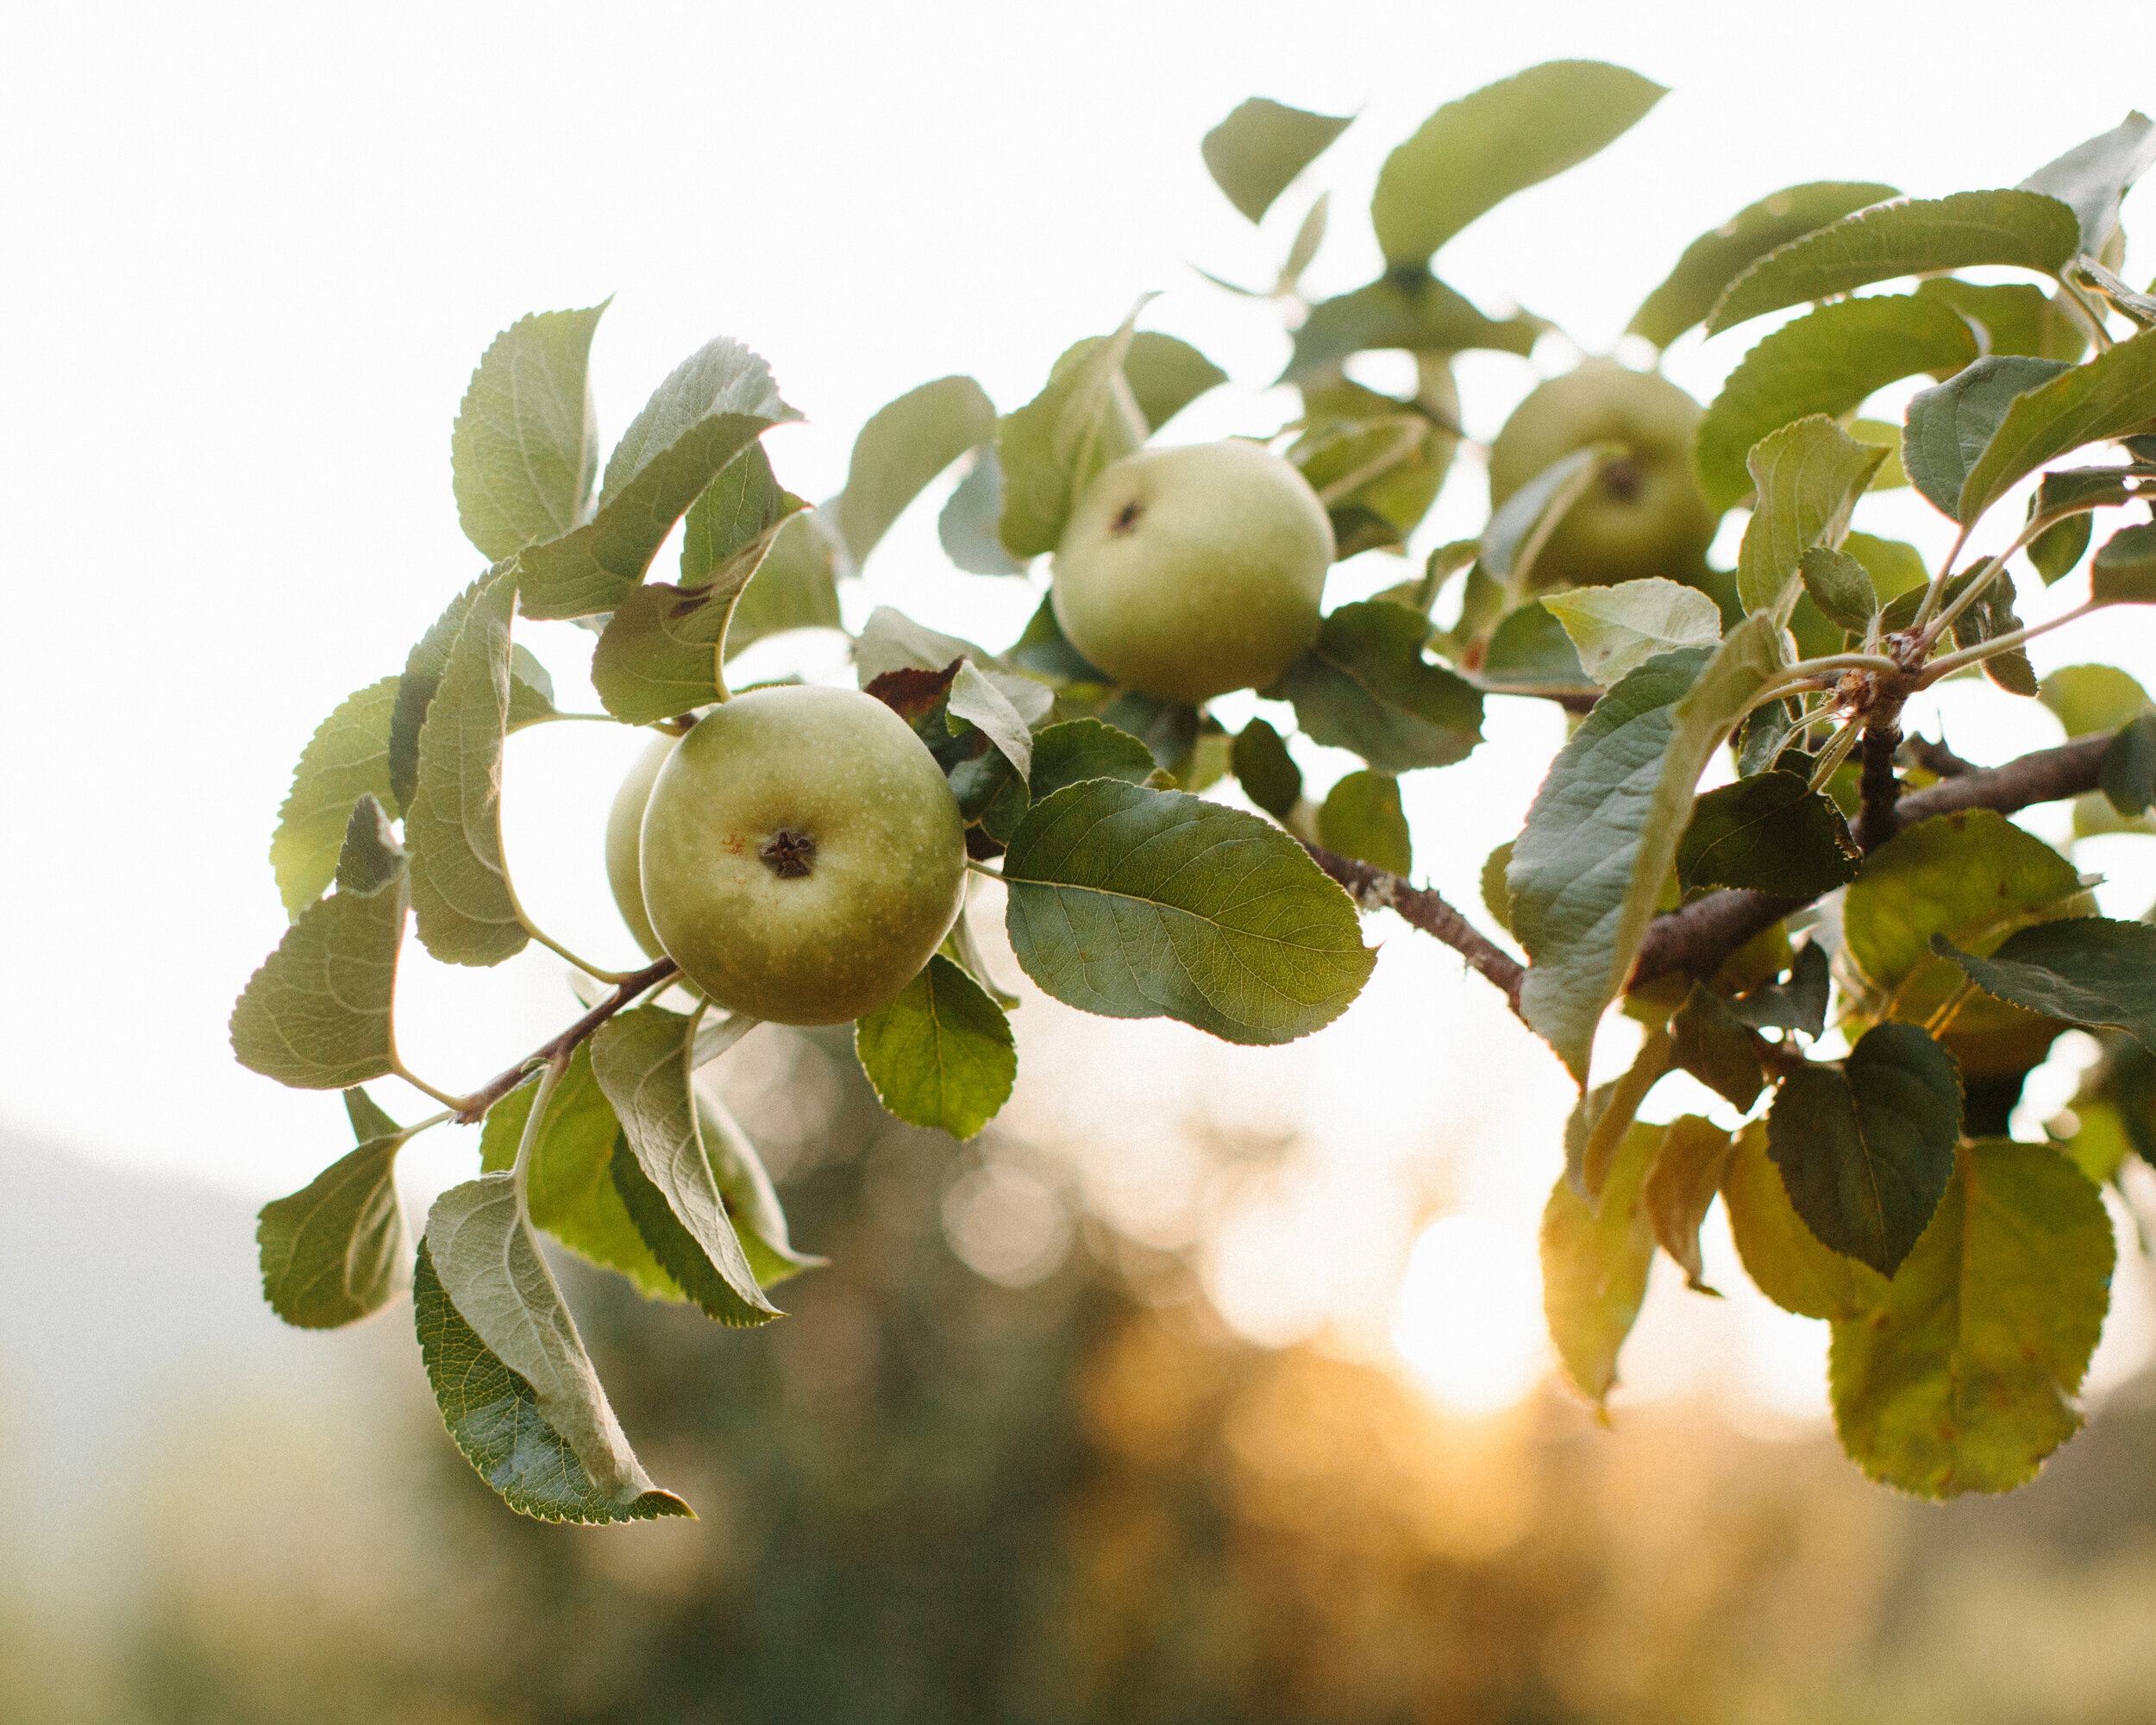
A Beginner’s Guide to Growing Apple Trees
There is something that feels distinctly American about apples. We pack them in lunches, give them to our teachers and some of us eat them daily to keep the doctor away. While the apple originated from Kazakhstan in Central Asia, the fruit was largely proliferated on the American frontier by John Chapman (a.k.a. Johnny Appleseed), a horticulturalist, evangelist and vegan who planted trees all over the eastern United States. Sadly, most trees planted by this American legend were cut down during prohibition to cut off the supply chain of apples for making hard cider.
In The Botany of Desire, famed sustainable food writer Michael Pollan writes: “...from Chapman's vast planting of nameless cider apple seeds came some of the great American cultivars of the 19th century." Apples like Red and Golden Delicious are among the known descendents of Champan’s trees.
Apple trees can easily be grown to bear fruit in most states in the U.S., from USDA growing zones 3-8 — if you select the right variety for your growing zone, and follow best practices in planting and harvesting.
Here’s what you need to know:
Know Your Zone
Where you live plays a role in anything you might grow, and this is especially true for apple trees. Apple trees grow best in temperate zones that have winters on the milder side, but some varieties are hardy enough for zone 3, and other heat tolerant offerings will fare well up to zone 9, where there are enough chill hours for the tree to go into dormancy.
Each apple variety requires a specific number of chill hours to produce blooms in the spring. Too cold, and the blossoms will fall off in a hard freeze, preventing your tree from producing fruit. Too warm, and the tree may have delayed leafing, or buds that don’t open well. The USDA hardiness zones map is a great tool for finding your growing zone.
Apple tree varieties that fruit in the coldest of zones for growing (zone 3) are Duchess of Oldenberg, Goodland, Harcout, Honeycrisp, Macoun, Norkent, Spartan and Sweet Sixteen. Varieties that thrive in temperate zones from 4-7 are Cortland, Empire, Honeycrisp, Granny Smith, Jonathan, Macintosh, Fuji and Snowsweet.
If you live in zone 9, Akane and Pink Lady cultivars are known to produce fruit, and even Fuji can produce fruit under the right growing conditions.
Want to get your hands on a non-GMO, heirloom Johnny Appleseed tree that is genetically identical to the famed cider-making and cooking apple trees planted by Chapman? The Johnny Appleseed Authentic™ Algeo apple tree is hardy in USDA growing zones 4-7, has the right acidity for cider making and baking. Not only will you have delicious ciders, sauces, strudels and pies, you’ll be carrying on an American horticultural legacy.
Planting bare root apple trees
Choosing a bare root apple tree increases the likelihood that your plant has received enough chill hours to go into dormancy, and the nursery will ship it at the right time for spring planting in your growing zone. Although you should be sure to follow the instructions from the nursery where you ordered your apple tree, here are the basics of planting a bare root tree, including a video and instructions:
Unpack your tree, remove all packing materials, carefully untangle the roots and soak the roots in water 3 to 6 hours. Do not allow the roots to dry out.
Choose a full-sun location, preferably on the north side of your property (southern exposure may encourage early spring bloom and blossoms knocked off in hard freeze). Six or more hours of direct summer sun daily are a minimum. The soil needs to be well drained, but able to retain moisture — clay and other poorly drained soil will lead to root rot.
Plant in an area with good air circulation so leaves dry quickly after a rainfall or watering to avoid leaf and fungal disease. Do not plant the tree in a low lying area where cold air settles, and avoid wooded areas with other trees. Ideal soil pH is 6.0 to 6.5 but a pH range of 5.5 to 7.0 will work. Take a soil test prior to planting your apple trees. Your local Cooperative Extension Service can help.
When your tree arrives, protect it from injury, drying out, freezing or overheating. If the roots have dried out, soak them in water for 3 to 6 hours, beginning about 24 hours before planting. Plant full size trees 15-18 feet apart in a row, and dwarf rootstock 4-8 feet apart in a row.
Apple trees require cross-pollination. A different apple tree cultivar that blooms at the same time needs to be planted within at least 2,000 feet, and preferably closer. Bees are known to cross pollinate best when flowers are the same or very similar color.
Dig a hole twice the diameter of the root system and 2 feet deep. Place some of the loose soil back into the hole and loosen the soil on sides of the planting hole so roots can easily grow. Spread the apple tree roots, making sure they are not crowded or twisted.
The graft union must be at least 2 inches above the soil line so roots do not emerge from the scion. The graft union where the scion is attached to the rootstock will have swelling at the junction. Replace soil around the roots, firming the soil and removing air pockets. Do not add fertilizer at planting time, as the roots can be “burned.”
Dwarf apple trees are notoriously prone to uprooting under the weight of a heavy crop, so be sure to provide a support system for your apple tree. You can grow your trees against a fence, or create free-standing support with a trellis.
Growing apple trees and encouraging fruit
Early Care: Water young apple trees regularly to establish the root system. Renew mulch each year, but pull it away from the tree in the fall so rodents don’t nest over the winter and eat the bark. Apple trees require training to build a strong frame of branches that can bear the weight of heavy apple crops. While apple trees are prone to pests and disease, it is possible to grow a tree organically if you are using a well-balanced organic fertilizer that allows the tree to thrive, and engage in organic pest and disease control. Correct timing of pest and disease control is critical to avoid harming bees and interfering with pollination. Any pest prevention activity is driven by the stage of flower and fruit development, not based on the calendar. Research your variety and climate to learn which pests are most likely to cause trouble, and engage in prevention at the right time.
Pruning: Take a conservative stance when pruning young apple trees, and only prune when dormant. Pruning slows a young tree’s growth and can delay fruiting. Removing broken, misdirected and dead branches are all you need to do the first few years. There are two steps you can take to encourage fruiting without pruning when your apple tree is young. The first is to rub off misplaced buds before they grow into misplaced branches. The second is to bend stems down almost horizontally for a few weeks to slow growth, and promote branches and fruiting. You can tie down with strings to stakes in the ground or to lower branches for this method of encouraging fruiting. Once the tree is regularly fruiting, prune annually in the winter by cutting away overly vigorous, upright stems, which are most common high up in the tree. Remove weak twigs (which often hang from the undersides of limbs. Shorten stems that become too droopy, and after the first decade, cut away and/or shorten some of the fruiting spurs (stubby branches that elongate only about a half-inch per year) when they become overcrowded and worn out. As the tree ages, remove whole limbs with fruiting spurs to make room for a younger replacement limb.
Thinning apples: To avoid potential disease and insect problems, thin after the natural fruit drop 4-6 weeks after bloom to one fruit per cluster or about 6 to 8 inches between fruit. Thinning fruit prevents a heavy apple crop from breaking limbs and ensures better-tasting, larger fruit. Right after fruit-set, remove the smallest fruits and any damaged ones, so that there are about 4 inches between fruits for the best harvest and health of the tree.
Harvesting and storing apples
Be patient at harvest time. After all the care you put into planting and growing, it’s worth the wait to harvest your apples at their peak. Pick apples when their undertone color is no longer green. Stems will part readily from the branch when the fruit is cupped in the palm of your hand and given a slight twist and lifted up (avoid yanking apples from the tree). Different apple varieties mature at different times, and harvest time can range from August to October depending upon your variety and growing conditions. If you find over-ripe or soft apples during harvest, use them in cooking!
Eat early-season apple varieties soon after picking, as early season apples don’t keep well. Mid-season varieties will keep for a few weeks. Late-season varieties will keep up to five months in a root cellar. Any stored apples must be in perfect condition with no bruises or soft spots to prevent spoiling the harvest. Wrap up individual fruits in newspaper or tissue paper. Place the wrapped apples onto trays that allow air to circulate. If you do not wrap in paper, be sure the fruits do not touch. Keep varieties separate and eat those that won’t store as long first. Store in a cool, dark, well-ventilated place. Most garages and sheds are ideal. Avoid attics and basements because of excessive heat, lack of ventilation or low humidity. Check stored apples regularly and remove any that are going soft, brown or rotting.
Most of all, enjoy your harvest!
Sign up for Newsletter
Follow Us on Social
Cutting-edge microbiology
No kill formula
Superior plant nutrition derived from the most ethical, sustainable sources available.
Produces the same results as conventional fertilizers without the negative environmental impacts.
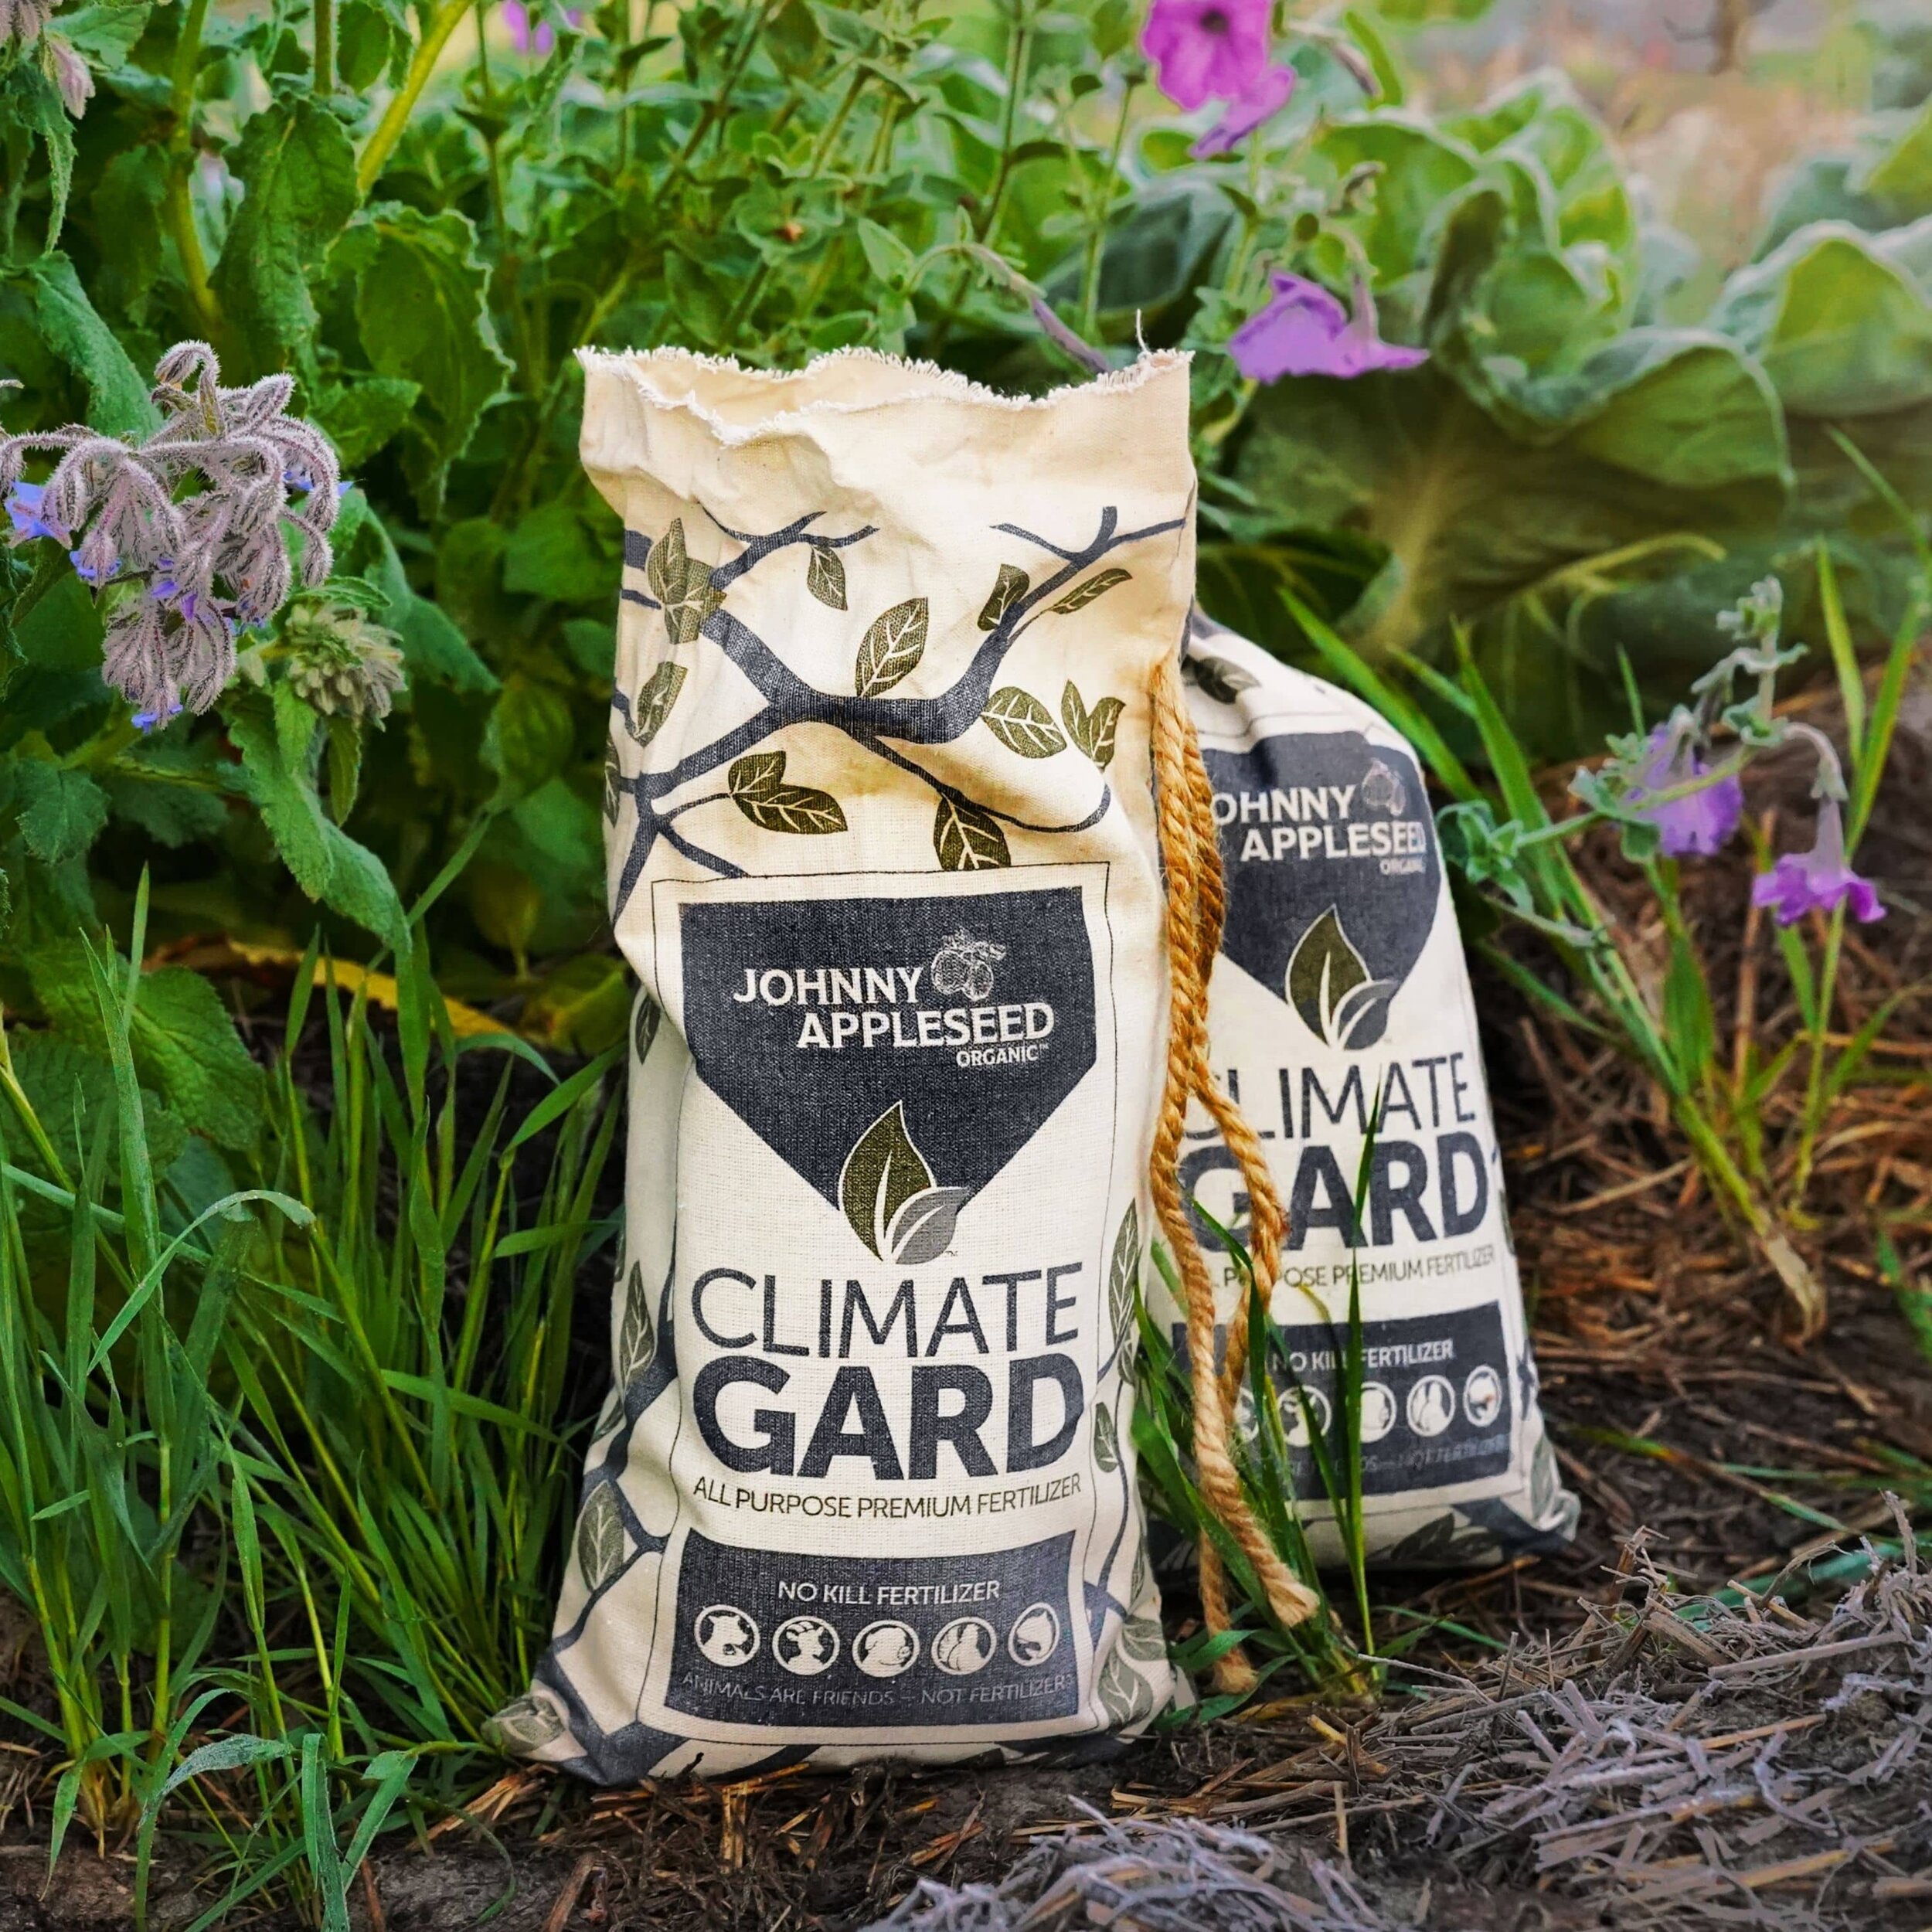
Each ClimateGard pellet is infused with micronutrients, silicon, humic acid and a high-performance blend of living bacteria and fungi.
Delivered in an environmentally friendly organic cotton bag with a compostable inner liner.
Will continue to enrich your soil long after application.
$39.95 for 7.5 pound bag | $69.95 for 15 pound bag.


