Home Canning for Beginners
History of Canning
Canning has been around for hundreds of years, and is a method for preserving food in jars and using heat in order to kill microorganisms and deactivate enzymes. The canning process drastically increases shelf life and is a great way to store food, if done correctly.
We have the French to thank for the advent of canning — specifically Napoleon Bonaparte and his French Revolutionary government, which offered a 12,000 franc reward (the equivalent of more than $100,000) to any Frenchman who could devise a cheap and effective method for preserving large amounts of food during the Napoleonic Wars.
In 1809, French confectioner and brewer Nicolas Appert observed that food cooked inside a jar did not spoil unless the seals leaked, and developed a method of sealing food in glass jars. The reason for lack of food spoilage was unknown for another 50 years until fellow Frenchman Louis Pasteur demonstrated the role of food microbes in food spoilage.
Meanwhile, across the pond in Vineland, New Jersey, American tinsmith John Louis Mason created and took out a patent for his metal screw-on lid for antique fruit jars that have come to be known as mason jars. In 1884, the Ball Corporation licensed Mason’s design and began manufacturing glass home canning jars.
Home canning became a way of life in American homes for decades, up until World War II, when canned foods were being sent oversees to soldiers and Americans were encouraged to eat frozen foods, which were just getting their start from grandfather of frozen foods Clarence Birdseye.
Benefits of canning and preserving food
Food preservation. A great benefit of canning is the ability to store foods much longer. If you have produced more than you can use, canning is a great way to preserve these foods to eat at a later date.
Cost savings. Maximizing your seasonal harvests and spending less at the grocery store can result in a significant cost savings over time.
Quality taste. There is nothing that compares to the taste of locally grown freshly harvested produce. The next best thing — even better than frozen foods — is food preserved through canning. Even if you don’t realize a cost savings in your first year of home food preservation due to the investment in equipment, you will still reap the benefits of better taste.
Nutritional value. If produce is home canned fairly soon after harvest, the nutritional levels can be as good as, if not higher, than ‘fresh’ supermarket produce, and will be better than anything frozen for a few months or more.
Health. Because you canned it yourself, you know exactly what the ingredients are — especially important for families with food allergies or other sensitivities.
Decreased environmental impact. The more we move away from consumer goods packed in non recyclable materials, the more we can reduce the footprint of environmental impact we leave through daily living.
Preparing for hard times. If 2020 taught us anything, it was the value of being prepared for unexpected emergencies and growing in self-reliance.
Types of canning
There are three types of canning methods: steam, water and pressure canning.
Steam canning. This method uses steam heat to sterilize and seal the jars. Jars are placed on a rack over a pan of water, and a lid seals in the steam. A dial on the exterior of the steam canner will track the temperature inside, including settings to adjust for altitude. Some question the safety of steam canning, but the steam environment will reach a temperature of 212ºF — the same temperature as boiling water. In fact, the University of Wisconsin extension system conducted research that determined steam canners are safe for use on specific high-acid recipes. Use your steam canner to process food for no longer than 45 minutes. (Use a water bath canner for recipes that go longer.). Acidic foods like apples and peaches, and foods with added acid, like pickles and salsa, can be preserved in a steam canner.
Boiling water bath canning. Boiling water bath canning entails heating jars in a “bath” of hot water, instead of under pressure like in a pressure canner or in steam. This is the simplest method and requires little in the way of equipment, so is a great way to start for newbies. You can only can high acid foods using this method for safety reasons, but the range of acidic foods from sweet to savory is broad enough to get your feet wet in canning. Fruits, fruit juices, jams, jellies and other fruit spreads, salsas, most tomatoes, pickles, relishes, chutneys, sauces, vinegars and condiments are among foods safely preserved using the water bath canning method. You can find many tested recipes on the internet, and the USDA has a great PDF on the principles of home canning that includes a graphic showing which foods are safe to can with the water bath canning method.
Pressure canning. Pressure canning involves the use of a large pot that has a lid that locks onto the pot and a dial or weighted gauge that allows you to regulate steam pressure that builds up inside the pot. The pressurized steam is much hotter than boiling water, and kills not only botulism bacteria at boiling water temperatures, but botulism spores which can only be eliminated through temperatures reached in pressure canning. Pressure canning is the safest method of canning, but is also overkill when used on highly acidic foods. Use the pressure canning method for alkaline foods like unpickled vegetables, vegetable soup stocks and all animal products. You do not need to use pressure canning with vinegary pickled vegetables and other foods, which are processed using extreme PH for safely preserving.
What you need to get started
There are a few supplies you will need on hand to begin boiling water bath or “water bath” canning. Many websites bundle and sell these as a starter set, like the Amazon Essentials Home Canning Kit, or you can find the items below individually. Be sure to purchase glass jars specifically designed for canning, as many regular jars are not made for the purpose of canning.
Glass preserving jars, with bands and new lids
Labels
Canner (Large saucepot with a lid and rack that fits inside for waterbath canning)
Headspace tool
Wide mouth canning funnel
Jar lifter
Lid lifter
Canning Recipes
Extra lids
Our 5 Favorite Ball Recipes
Conclusion
By following these tips, you’ll be well on your way to canning like an expert. Congratulations and happy gardening!
Subscribe to Newsletter
Follow Us on Social
Cutting-edge microbiology
No kill formula
Superior plant nutrition derived from the most ethical, sustainable sources available.
Produces the same results as conventional fertilizers without the negative environmental impacts.
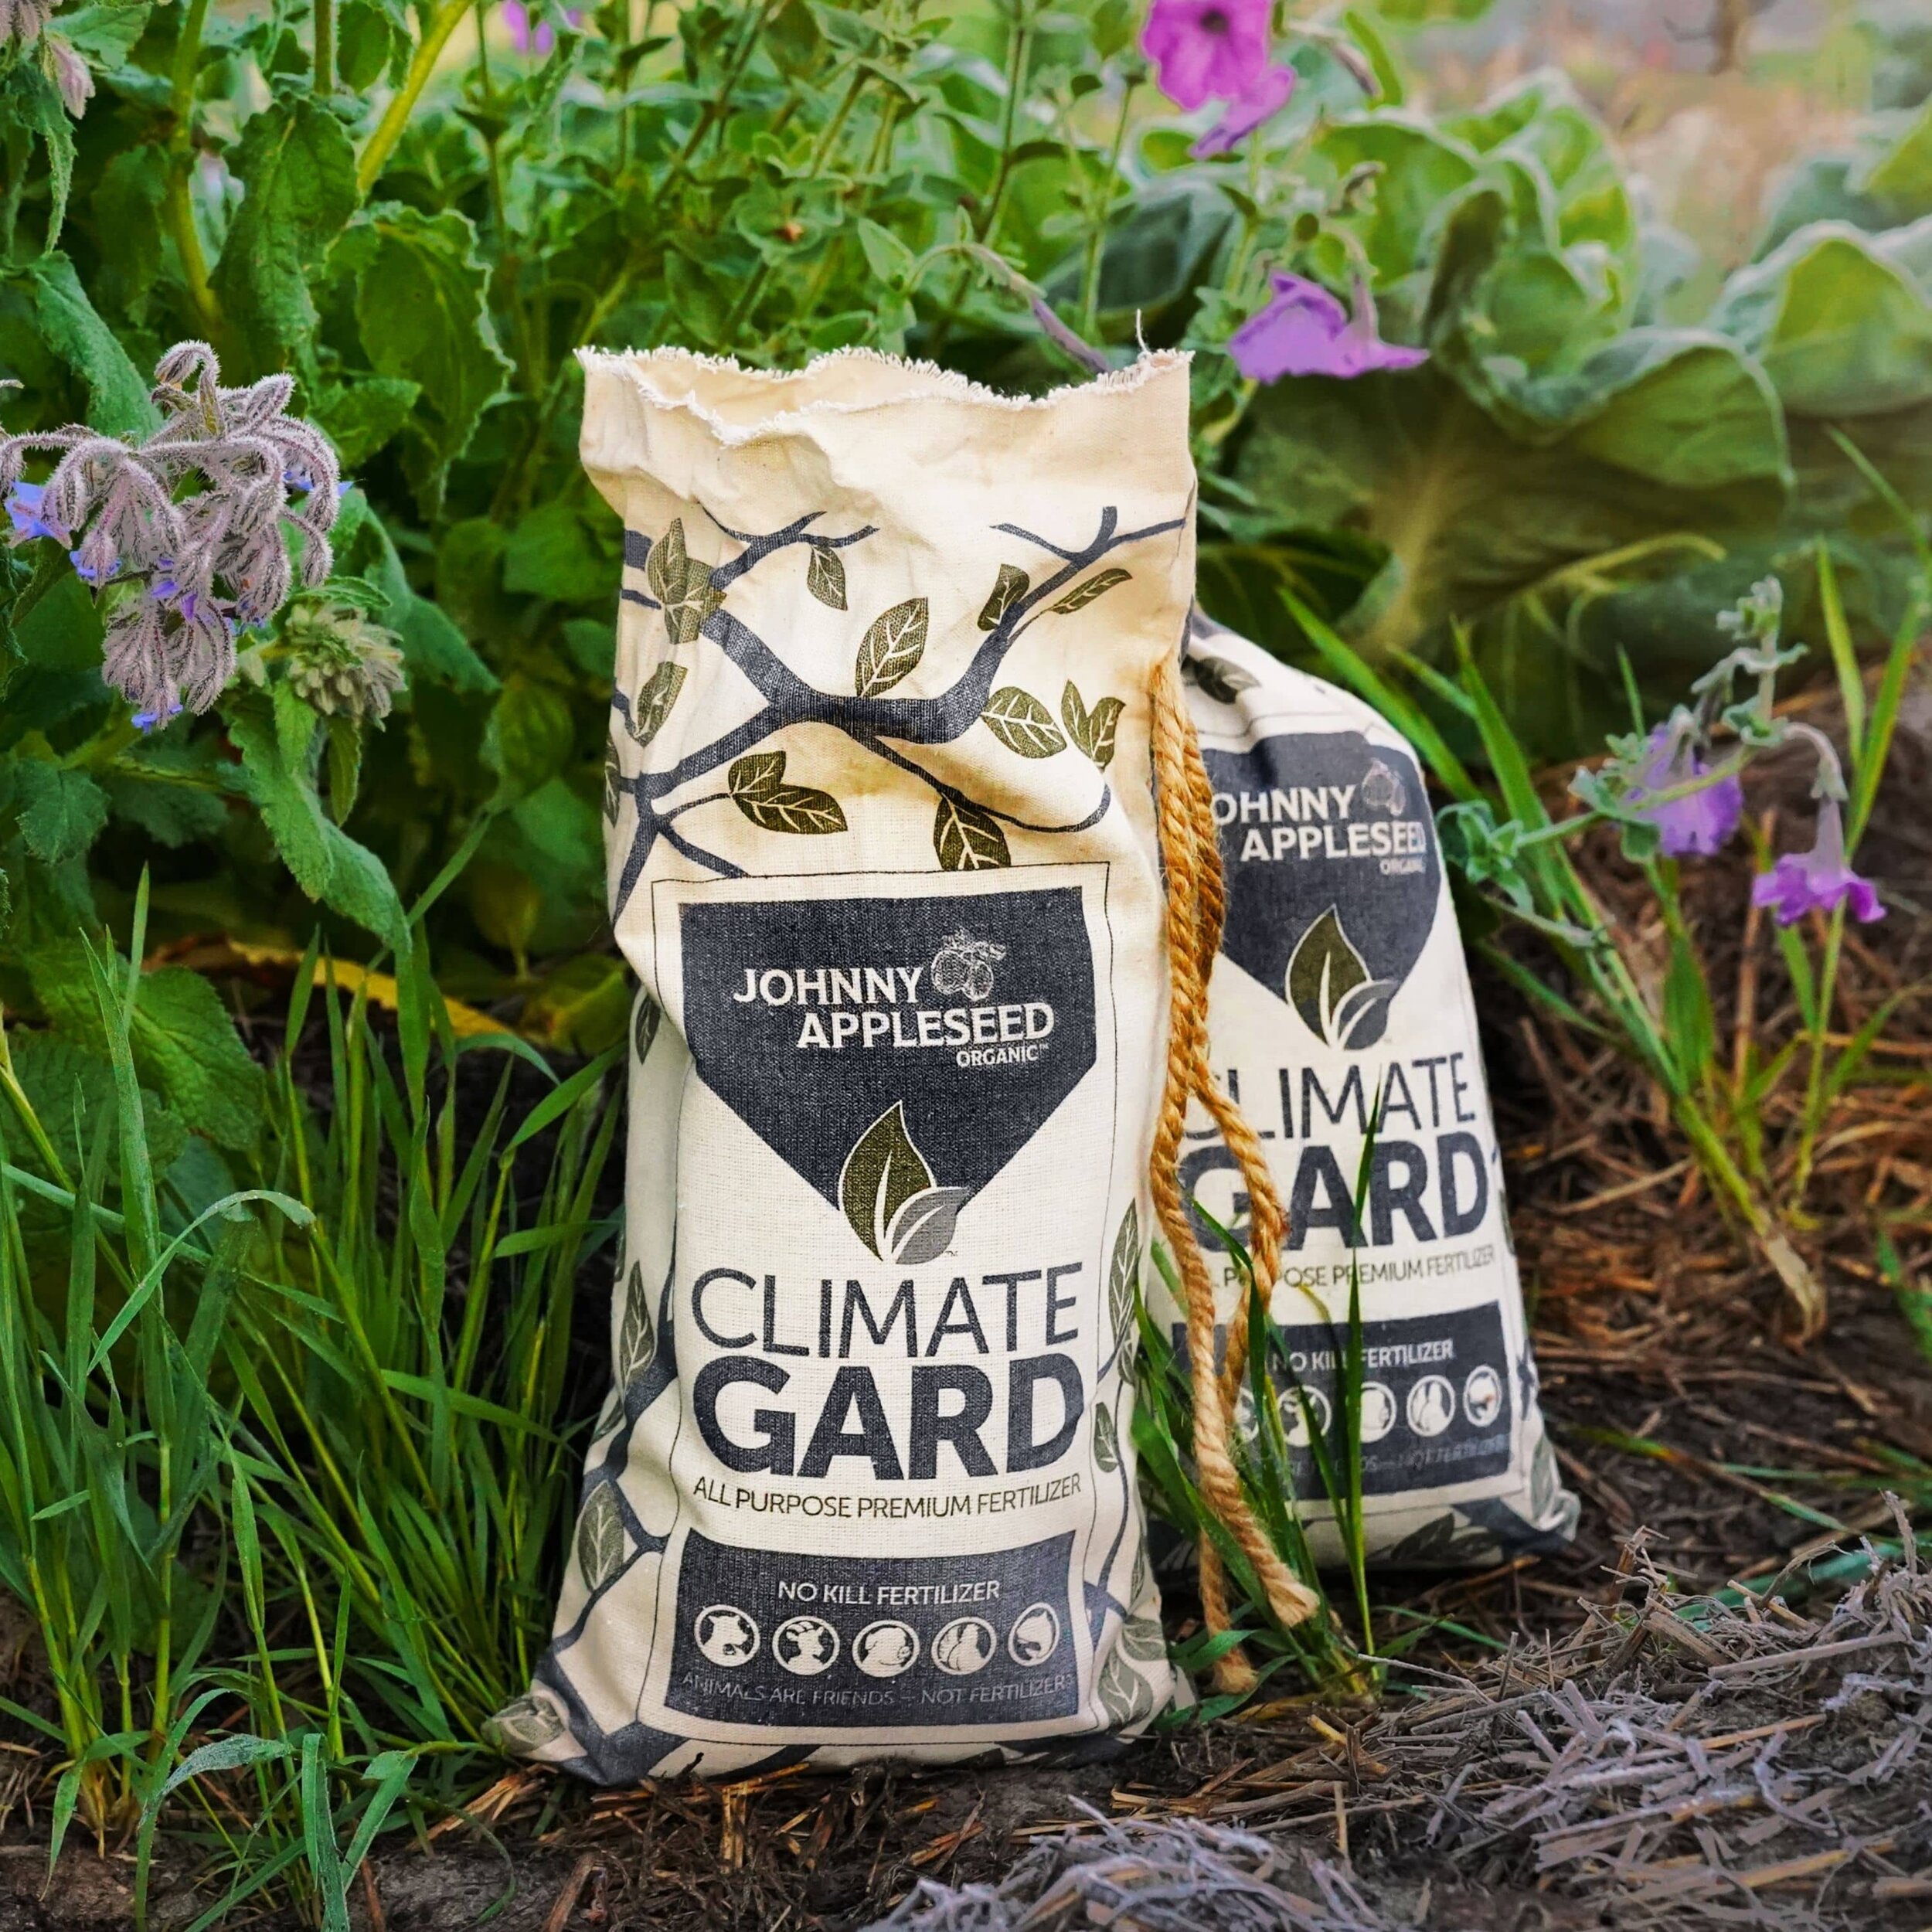
Each ClimateGard pellet is infused with micronutrients, silicon, humic acid and a high-performance blend of living bacteria and fungi.
Delivered in an environmentally friendly organic cotton bag with a compostable inner liner.
Will continue to enrich your soil long after application.
$39.95 for 7.5 pound bag | $69.95 for 15 pound bag.


